Saturday 28 January 2017

January's PL Style Page


Hello, hello lovely scrappers and welcome to the first of our Project Life style pages.  Apologies for the bad photos - flat batter in my camera and iPhone not up to poor light photos!

I have to confess that I don't have a Project Life album and rarely scrap in divided pocket pages but love the style and concept of Project Life.  For the past two years I have made a double page each month with one large photo on the left page and four smaller photos on the right to give a small snapshot of the happenings each month.

In this series of layouts, sometimes I will focus on a whole month and sometimes I will focus on one event, not always from that month just one I have lots of photos for.

This month I am using photos from events during January but that doesn't mean that you have to.

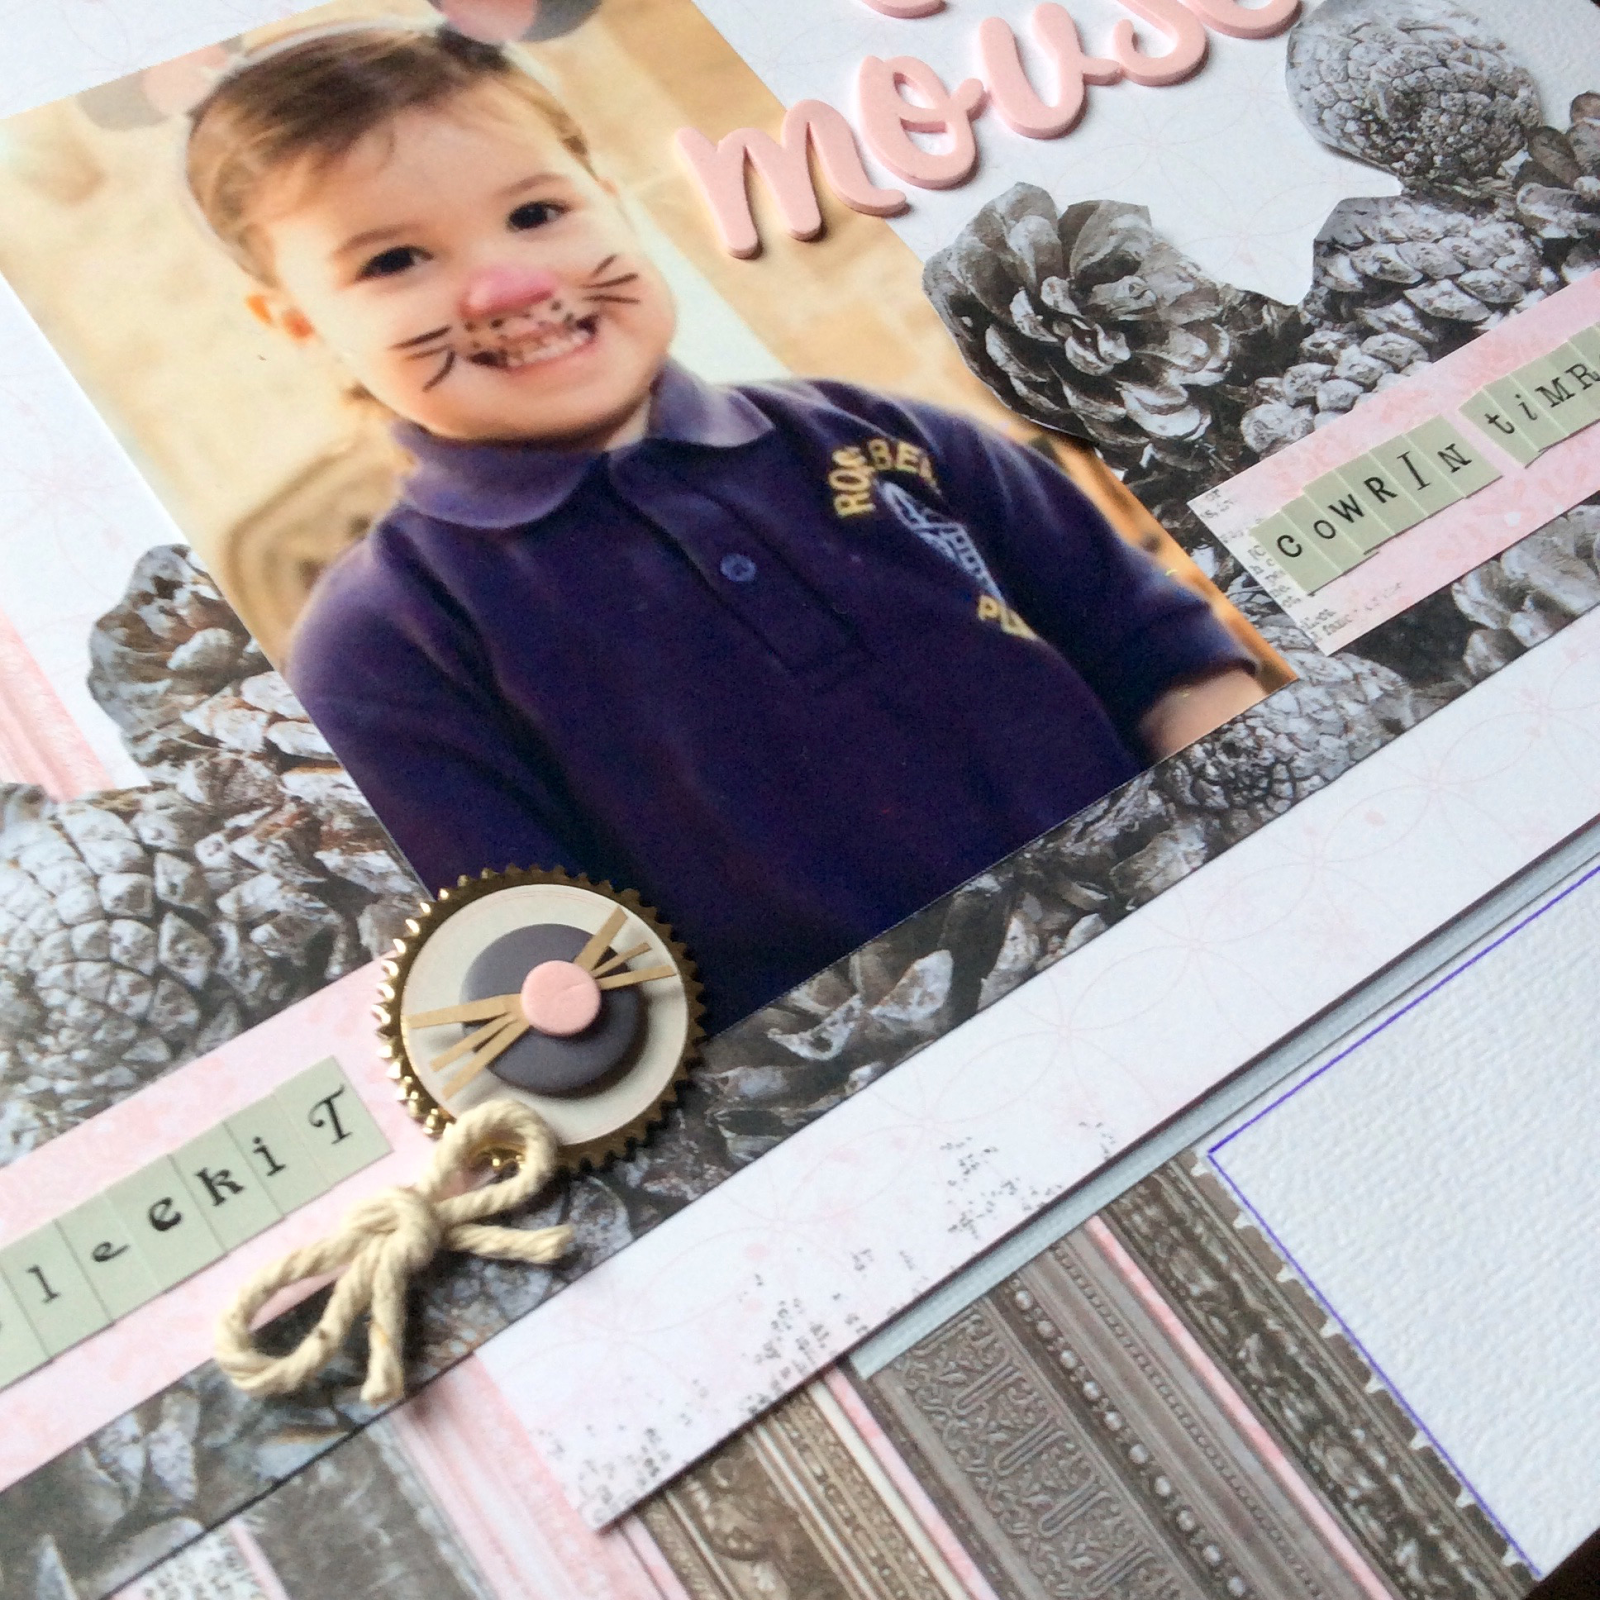
The paper ranged I used is Simple Stories Winter Wonderland but this will work well with any paper range that suits your photos.


NOTE All measurements are in inches. 

Photo sizes - one 3 x 3, onw 2.25 x 3, two 2 x 3 and one 2 x 2

  • To start I cut four pieces of patterned paper 5.5 x 3.5 and four pieces of paper 3.5 x 2.5, I then rounded the corners with a half inch corner rounder. 
  • I arranged my pieces onto the page with two 5.5 x 3.5 at the top, the four 3.5 x 2.5 across the centre and the remaining two 5.5 x 3.5 at the bottom.  I left a .25 gap around all four sides and the space between the paper pieces is .5. I raised some on foam pads and stuck some directly to my cardstock. 
  • Next I added some enamel dots and a chipboard tree.
  •  I used a quarter inch corner rounder on my photographs and shuffled them around until I was happy with the positioning of them.
  • I used foam pads to attach my photos to the page .
  • Finally, I added a title and lots of stickers (I added the squares under the small photograph on the bottom left rectangle before I added the photo. 
I hope you use this as inspiration to make your own Project Life type page and please upload any you make to the album on the ATDML#Create Facebook Page.


Wednesday 25 January 2017

To a mouse ....


Across Scotland today kids will be reciting poetry at poetry at School, families will be tucking into haggis, neeps and tatties and there may be the odd nip of whisky ta'en all in honor of Robert Burns.

I love this photo of my friend's little girl dressed up as a mouse at School last year - who could resist that cheeky grin.  I wanted to give the page a wintery feel as a nod to the season but also give it a country look.  I loved the frosty pinecones on Kaisercraft's 'Glacial' paper in the Frosted collection and cut around it so it looked like Erin was sitting in amongst them.  


Her little pink nose and ears are adorable and she's a very girly girl so I used the stripy side of Bo Bunny's 'Winter wishes frosted' and cut an 8x8" square from 'winter wishes icicles' pale pink side for the mount and then used the remaining scraps so I could incorporate the dark pink side too. 


I used a grey button and a full stop from my thickers to create a wee mouse.  I cut the whiskers from a triangle of kraft bazzill and layered the mouse onto a chipboard embellishment from Crate paper.


In the top right corner I added the title using pink thickers and layered some pink and grey buttons with chipboard shapes 

I used My Little shoebox letters to add the first line of the poem along the bottom of the photo and to finish, I added a little string bow next to the button mouse and 3 knots to the top left corner.  


Saturday 21 January 2017

Jan Virtual Crop Class 3 with Debs

Welcome to the final class of the first 2017 ATDML Virtual Crop.


This class was designed o get you scrapping your Christmas photos using the fabulous October Afternoon 'Under the Tree' papers.  I thoroughly enjoyed working with these patterned papers than could be cut up and used to embellish layouts.


 Link to the instructions can be found here.

Looking forward to seeing your finished pages.
Happy scrapping lovely people.
xoxo

Jan Virtual Crop Class 2 with Ann

Hello hello on this chilly January Saturday, brrr!! Time to forget those winter blues and create some vibrant sunshiney layouts with my class today which features papers from Simple Stores Life in Colour collection.


As always the instructions to create the layouts I have created (all 3 of them) can be downloaded for free HERE but don't worry if you don't have the kit as certainly layouts 1 and 3 can be made with any papers and layout 2 is nice and simple to create with any of the 6x12 split papers Simple Stories do or just trim down your own papers and pair up to create a unique background or your own.


I hope you enjoy the classes. Pop back at 2pm where Debbie brings you your third class of the day and don't forget the challenge too, posted last night.

Jan Virtual Crop Class 1 with Mel

Hello and a great big WELCOME to the first Virtual Crop of 2017. I hope you enjoyed the challenge set for you last night, I am sure it got the creative cogs turning ready for a weekend of scrapping!

My class kit was issued long before we had the cold snap but for those of you who had lots of snow (or even just a little but enough to get a photo of it!) this will be perfect. I on the other hand used old snow pictures for my first two layouts and my third, non snowy, layout is the only one with recent photos!


As always full instructions can be found HERE on the website. Please do share your creations and ask any questions or make any comments over on the ATDML # Create Facebook page.

Join us again at 12 when Ann will be bringing you the second class of the day.

Friday 20 January 2017

Jan Virtual Crop weekend challenge - Inspired by...

Welcome to our first Virtual crop weekend of 2017. 

We have moved our challenge from the usual Saturday morning to Friday night - the third Friday of every month ahead of three classes tomorrow to give you more time to join in. This challenge runs until midnight on the last day of January and there is a £5 ATDML gift voucher up for grabs for the favourite page chosen by the design team so why not join in?


The challenge is to create a layout inspired by the image above.  You can take inspiration from the colours, shapes, patterns, layout or the black and white images, the choice is yours.

I have illustrated how I have been inspired by this image below just to give you an example. I focused on staying with multiple images, black and white photographs, the grid format but changed up my colours.


We have added a Jan 17 Inspired by challenge gallery to our Facebook Page too so do share your 
creations to be in with a chance to win the monthly prize. See you all back here tomorrow for your three January virtual crop classes starting at 10am with Mel. 

Wednesday 18 January 2017

January Virtual Crop Photo Requirements

Hello and welcome to the first Virtual Crop of this year on Saturday, if you don't have kits you can still put some papers together and have a go at the classes - come and join us for chatter on Facebook at ATDML#Create.

The classes are 10:00am, 12:00 noon and 2:00pm, though you can do them at your leisure - there will be a link to the instructions from the blog post.


Class 1 - Mel Hand

Layout 1 

6 by 4" landscape and 4" square

Layout 2

4" square

Layout 3

2 portrait photos either  3 by 4" or 3 1/2" by 5", both portrait

Class 2 - Ann Freeman

Layout 1

Pair of 4 by 4 photos with white border

Layout 2

4 by 6" portrait

Layout 3

Pair of 3.5" circle photos - the template is provided and they were trimmed from 4 by 6" photos

Class 3 - Debbie Jewell

Layout 1

Pair of 4 by 4 photos

Layout 2

6 by 4" landscape

Layout 3

Is a 6 photo page, 4 portrait 2 by 3" and 2 landscape 3 by 2"

All the photos are Christmas themed to match the papers in the kit.


BoBunny's Winter Wishes and lots of mist


Winter Wishes from BoBunny is one of my favourite collections this season and I used it alongside lots of mists and texture and mess to create a wintry page.  

I covered the page with clear gesso (any gel medium that helps protect the paper a bit from all the ink that you are going to spray on it helps), then I wondered what I could do to add some texture so I started with some muslin or gauze, and stuck it down with more of the gel medium.  Once this was fairly dry I started misting with a mixture of blue and grey mists, making some puddles and then dabbing away with a tissue where I'd applied too much or the colour was too strong. I then added some texture paste randomly and then little pools of silver embossing powder which I heated from underneath.  I also decorated some of my Tando snowflakes with silver embossing powder - you can do a couple of layers to get a really nice smooth finish on them, but I quite liked the dimply rough effect with one layer.  

I cut out several different sized circles from the winter wishes papers, and also a few from the beautiful silver foiled vellum in this collection.  I added some stamps - one is a very old Stampers Anonymous Tim Holtz set and the other from a Kaisercraft edges set.  The final touches were sequins and a bark heart as well as some prima gems.

It was lots of fun to make, though it did take rather a long time as I had to wait for the layers to dry a bit!


Saturday 14 January 2017

Jane's Saturday video - January - Folded Card

Good morning! I wanted to follow last year's monthly tag blog posts with another regular blog feature and I have decided that this year I want to make more videos of paper craft techniques. It's likely to be things I've seen on Pinterest and want to have a go at and I'm not promising any particular theme, just that there will be a video you can watch which shows you how to make something. I find making videos so much easier than writing instructions - I am much more of a visual learner (and teacher) I think!
So today's project is a folded card - I didn't invent it, I just saw a picture of it and worked out how to fold it up.
If you want to make it you will need:
A 12"x12" sheet of card (not too thick to make folding easier) - I use cream for my demo card but then the card I have decorated is black.
Patterned papers to decorate, I used papers from the Nature Sketchbook Collection by Graphic 45 - I used three different papers to decorate but because they are double sided it gave me 6 different designs (up to you how many different patterns you have).
Here's the card...

And inside...


And here's how to make it...

I hope you'll watch and maybe give this a go, see you in February!
Jane


Wednesday 11 January 2017

Clean and Simple with Simple Stories Winter Wonderland


A bit of a departure from mess for me, but I like to mix it up a bit and Simple Stories is perfect for those clean and simple layouts.  I saw an idea for cutting a curve in your cardstock and then layering up papers behind it so decided to have a go.  After I had cut the yardstick I then layered papers over the piece I had removed - making sure they were longer, and then restuck it back to the original cardstock I also added an old piece of paper over the back just to reinforce the join.   After that I created my photo mount and used one of the journal cards as well as a few stickers in this collection and some of the enamel dots.  Even though this is a winter collection there are still plenty of Autumnal and papers that you could use on other occasions too.


I layered up some of the flower stickers on foam pads to give some dimension to my cluster


A few enamel dots, which are like clean and shiny drops of paint - no mess!!

Friday 6 January 2017

January's Scraplift Challenge

Hello, Karen here with the first of our scraplift challenges.  The idea is that you pop over to the December DT Gallery on the shop site (on the list at the right under Information) and choose one of the projects to scraplift.

I chose Katherine's lovely card she made using Simple Stories Classic Christmas.  


I also used some Simple Stories for my page but this time it was the Winter Wonderland range. I liked the concept of the large rectangle bordered by squares and decided to turn the design a quarter turn and have the large rectangle going vertically rather than horizontally.  I also added four squares to each side of my rectangle instead of the three Katherine has.


This was a very easy project to complete because Katherine had done all the hard work and all I had to do was use her design in my own way.


I am really excited to see what you come up with and there will be a small prize for one project chosen by the DT - good luck and don't forget to share your makes on our Facebook page. 


Wednesday 4 January 2017

Scrapping those festive photos

As the time comes around for taking down our holiday decorations for another year be sure not to put your photos away in a box too and get them into your albums! If you are like me you LOVE Christmas papers, buy plenty and then barely use them! Well now is the time. Why not set yourself a challenge to get your 2016 Christmas photos in your album this month, maybe not by 12th night, but by the end of January?


So this page clearly isn't from 2016 but from 2007 and I cannot believe I have never scrapped this photo before? Lots of fussy cutting of leaves and berries, with a few sequins and gems thrown in to the mix meant this page is fairly simply making sure the photo is the main feature. I drew around a plate with a pencil to mark the rough circle shape I wanted to follow rather than judge it by eye.


Layering up elements brings a reasonable amount of dimension into this page too.

I did get some of this year's photos scrapped including this page and a couple more over in the December gallery where you will find plenty of festive inspiration from the team. Look out for our first challenge of the year coming this weekend where we ask you to scrap lift a page from the December gallery.. so get those thinking hats on and festive photos ready  to join in.


Monday 2 January 2017

Photography Prompts for January

Welcome to the first set of photo prompts for 2017.

Having posted these for the past two years Ann has hung up her photo prompt boots and handed the reins over to me so I will be providing you with these for the year ahead.

Each month on the first Monday of the month I will be giving you 9 photo prompts. Most will vary and some will be included every month ("Relationships" and "I made this," the former to capture the many different relationships we all have and the latter to encourage you to reflect on the creative activities you take part in each month!)

Please feel free to interpret them however you please or use some but not all.

It would be really lovely if some of you shared your photos at the end of the month over on the ATDML # Create Facebook Page. I will endeavour to post mine at the end of the month too!

Here is your first set of prompts...