Showing posts with label 2016 - ATDML Advent Calendar.. Show all posts
Saturday, 24 December 2016
Advent with ATDML Day 24 - Mel
Hello and a Merry Christmas to all our blog readers and customers!
First I need to let you know that as usual we will be having a post Christmas sale so keep your eyes peeled here, on the website and on our facebook page for news of discount shopping opportunities to ease your post Christmas blues!
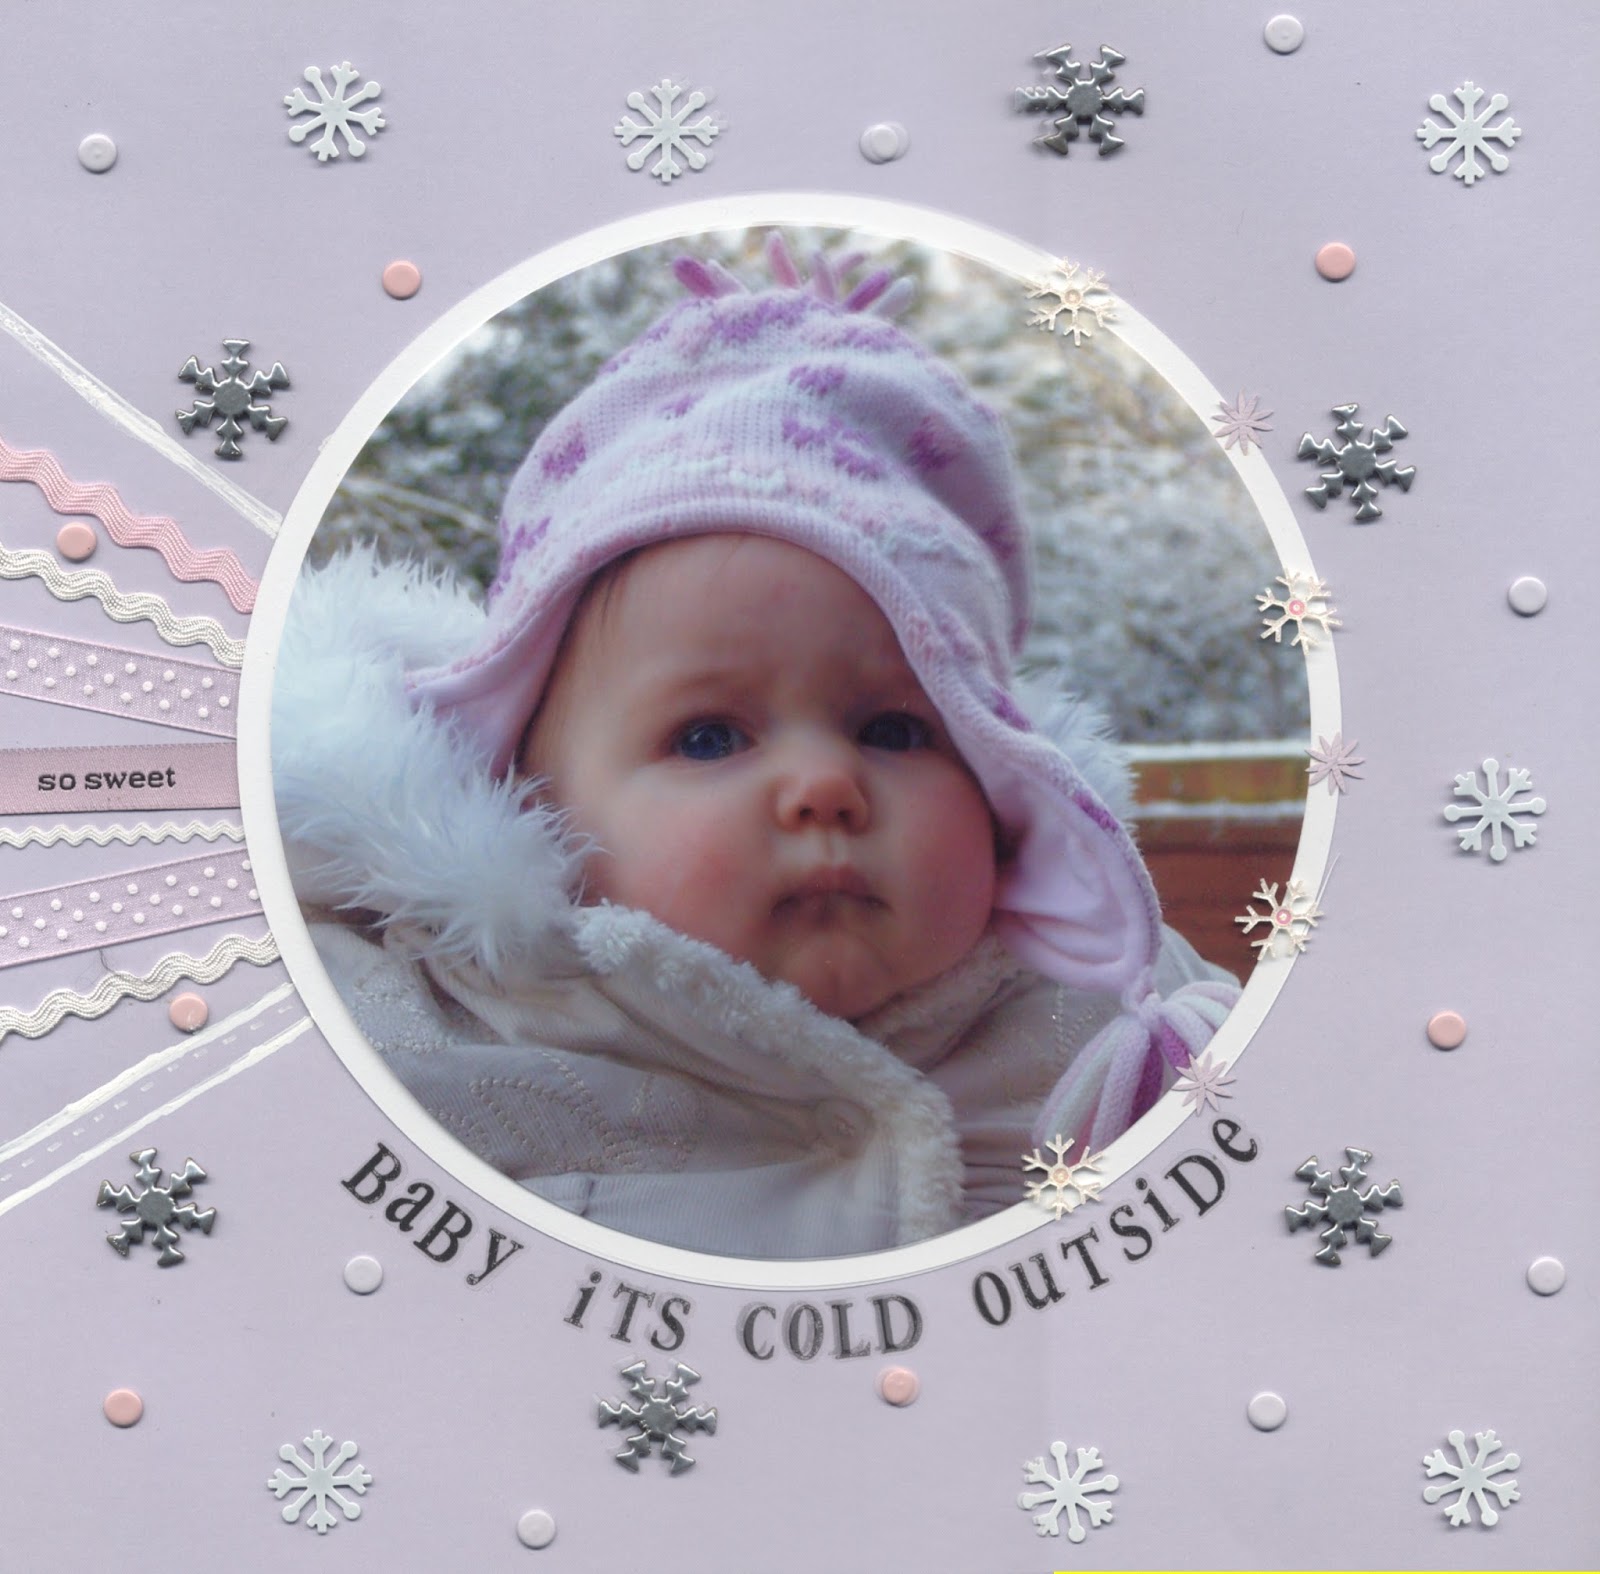
Secondly I thought I would take this last opportunity to share some Christmas layouts from years gone by. It is always nice to revisit layouts and remember all the moments you have captured but also it is fun to see how your scrapping style has evolved and how trends and fashions for scrapping have moved on over time. So with that in mind I will share some layouts from the past 10 or 11 years and try to do it in order!
and then here are two I scrapped at Ann's Christmas Crop - both were classes taught by Ann!
Labels:
2016 - ATDML Advent Calendar.,
Christmas,
layout,
Mel,
Winter
Wednesday, 21 December 2016
Advent with ATDML - Day 21 - Joy
Hello, Karen here with the last of my Advent posts. I have thoroughly enjoyed the anticipation of waiting for all the little crafting gems to pop up on my Facebook page each day and hope you have too.
Today I have a layout using Simple Stories Classic Christmas range. The photos on this layout epitomise the joy and laughter Gracia brings where ever she goes. Last Christmas she decided that we needed some Christmas tiaras made from the discarded present bows and so set about making them - even Kiera had one!
I gutted a piece of red cardstock so that I had enough to make my photo mounts and then trimmed a piece of 'Fun and Frosty' paper to give me an eighth of an inch border of red. I cut the large 'Joy' and the gold 'To All' banner from the 6 x 4 Elements paper.
I used a variety of stickers from the range to embellish my page
Added a gold glitter paste border at the bottom of my page.
I also used glitter paste on some chipboard stars for the two top corners and the middle of my page.
Finished off with some more stickers, a piece of gold doily and a sprinkle of gold enamel dots.The final touch was some Father Christmas washi tape.
I love the classic colour combination of this colour range which goes so well with any Christmas photos.
I wonder what our talented DT will bring for the last few days in the run up to Christmas?
Sunday, 18 December 2016
Advent with ATDML - Day 18 with Mel
Hello and welcome to day 18 of Advent with ATDML. Today I am sharing Christmas \ Winter layouts. I started looking back through my layouts for a favourite layout to share but ended up being indecisive and decided to share a festive buffet of layouts! Some are quite recent, some a lot older but all feature Christmas or winter photos!
Websters pages
Simple Stories
October Afternoon and Making Memories (I think!)
Fancy Pants
The layout above was based on a scraplift of a layout by Jennie Leon.I do love this design and revisited it recently when scrapping photos of a trip to Copenhagen!
Basic Grey
Bo Bunny
Making Memories
Join us tomorrow for more advent inspiration!
Don't forget to visit our facebook page ATDML # Create for lots of inspiration, chat and scrapping fun!
Saturday, 17 December 2016
Advent with ATDML - Day 17 - Christmas Cards
If you need some extra cards here are some quick and easy cards using a mixture of Simple Stories' Classic Christmas and Carta Bella's Christmas Delivery.
The first one uses a mix of the Simple Stories Classic Christmas stickers and one of the journal cards trimmed down for the sentiment
I created a road for the Christmas Delivery van sticker from Carta Bella and also cut out a couple of Christmas trees and added some washi tape too.
Finally one of the Simple Stories Classic Christmas 3 by 4 journal cards, a few drips of mist and some sequins and layering was all that I needed.
Check back tomorrow for a layout from Mel.
Friday, 16 December 2016
Advent with ATDML - Day 16 - Delivering Joy
Today I have a layout that just uses two pieces of paper OR two pieces of paper and a piece of cardstock but, as you would expect, lots and lots of foam pads! I also used the manufacturer's strips cut from the papers. My photo is 4 ins square but you could use any size photo for this page.
The paper I used was from the Carta Bella Christmas Delivery Pack, the sheets that I used are
Christmas Tags
and Striped Frame
This is cardstock weight paper so if you haven't gutted the centre of the Striped Frame paper, as I did, then you could make this out of just the two pieces of paper.
All I did to make the layout was to sit in front of a Christmas film (note it HAS to be a Christmas film) and cut out most of the elements on the Christmas Tags paper. I then spent a happy half an hour shuffling them around until I had clusters of elements I was happy with,
used my phone to photograph the clusters - much easier to reassemble once they have been moved off the page. Added my photo and then reassembled the clusters using foam pads (some were three pads high)!
I chose a phrase for my title, which I stuck onto my photograph and there we have it - a very dimensional but frugal page with a lot of impact.
Happy crafting and I am looking forward to seeing what crafting loveliness is in our advent tomorrow.
Wednesday, 14 December 2016
Advent with ATDML - Day 14 - Surprise Exploding Box
Hello lovely friends, today I have a little surprise exploding box for you to make.
Not only does the box have this cute little house inside but inside the house is a battery tea light to illuminate the windows!
For this project you will need
1 piece of 12 x 12 cardstock
Cardstock weight double sided paper - I used Carta Bella Christmas Delivery
1 yard of ribbon
A piece of red card
and a battery tea light.
- I started by drawing a cross shape on my black card with each square measuring 3 3/4. I then scored around the middle square so that the sides could be folded up.
- Next use the template (templates are in the files section of the ATDML#Create Facebook page) to cut out your lid. I covered both sides of the box flaps and the top and sides of the box lid with paper.
- Use the template to cut out your house shape and fold along the dotted lines and glue the tabs to the inside.
- The long fringed strip is folded in half length ways and made into a square measuring 1 7/8 and the fringed side is glued to the bottom of your box with the fringes to the centre, I cut a piece of paper from the piece I used for my house to fit in the bottom of the square to cover the fringed bits. This now forms the base of your house.
- From red card cut your windows, doors and roof, add to your house.
- You can now add a tea light to the base and carefully slide the house over the top.
- If you don't want to make the box you can make the little houses, as Christmas Tree decorations.
Tuesday, 13 December 2016
Advent with ATDML - Day 13 - December Daily journal
Unlucky for some the 13th, but not for you as we continue with our seasonal craft inspiration and today I am sharing some pages from my December Daily journal. I try and do this journal each year and usually make it about half way through the month and run our of time/steam but this year I am determined to finish!
I have prepared some of my pages in advance so just need to print off the photo for the day, add my journaling and embellishments. I have kept things much more fluid in my album this year by combining 6x8 pages, some which came in a pack from Simple Stories with decorative edges and some I cut myself from kraft paper, with smaller 4x6 pages and also page protectors. I have also added in a couple of postbox cards that I purchased to send but loved them so much I wanted a couple in my album too!
I have combined several collections in my album from Kaisercraft Silent Night to Bo Bunny Merry & Bright and Simple Stories Classic Christmas to Stamping up and then added in just a few embellishments including sequin stars, a pack of star enamel dots, gems and seasonal washi tape. Learning from the last few years I have restricting myself to flatter embellishments in the hope my album will shut at the end of the holidays!
Pop back here tomorrow for more inspiration from Karen who has an exploding box with a surprise for us.
Subscribe to:
Posts (Atom)