Hello crafty people. I hope you are having a great weekend, and that the weather is being kind, I'm here with your last class of the day.
I'm lucky enough to be crafting with friends this weekend in Kent, having spent last weekend in Bristol crafting with Mel and the Welsh girls. Lucky, lucky, lucky me... 🎶
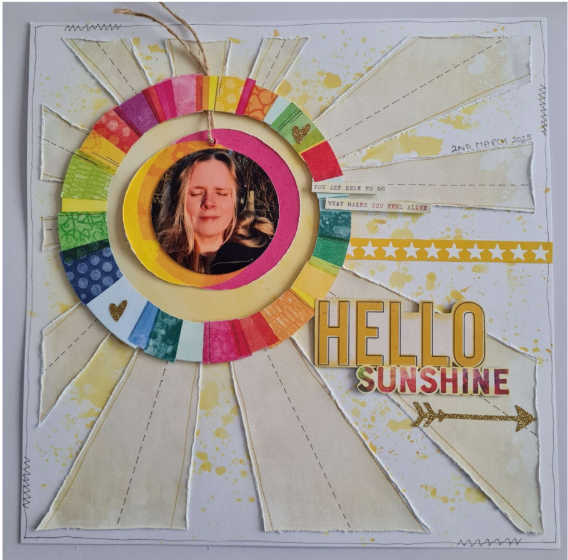
Today I've got some really quick and easy layouts using this really fun range that's giving me all the spanish vibes, and increasing the levels of excitement for my holiday to Tenerife in June!
First we do a super quick tear, cut and stick layout, which comes together really quickly, and celebrates the photo!
But it wouldn't be one of my classes without a bit of ink, so in our second layout we use the title element in the kit, as a stencil, before we use it on the page as the title!
Lastly we finish off with another super quick layout that really celebrates the fabulous camera paper, and features round tags!
You'll find the instructions in the drive here
I really hope you enjoy this one, and look forward to seeing your versions! Share with us in our facebook group ATDML#Create


