Showing posts with label Simple Stories.. Show all posts

Saturday, 22 August 2020

Simple Stories Vintage Great Escape

Every so often a collection comes out that just sings to your heart. In fairness most of the Simple Stories collections do but the new Great Escape really speaks to me. 

I love the natural colours, the beautiful tones, the leaves and toadstools and the wonderful phrases. 


I have had so much fun playing with it and want to share some of the pages with you 


I had fun doodling a border on this one 


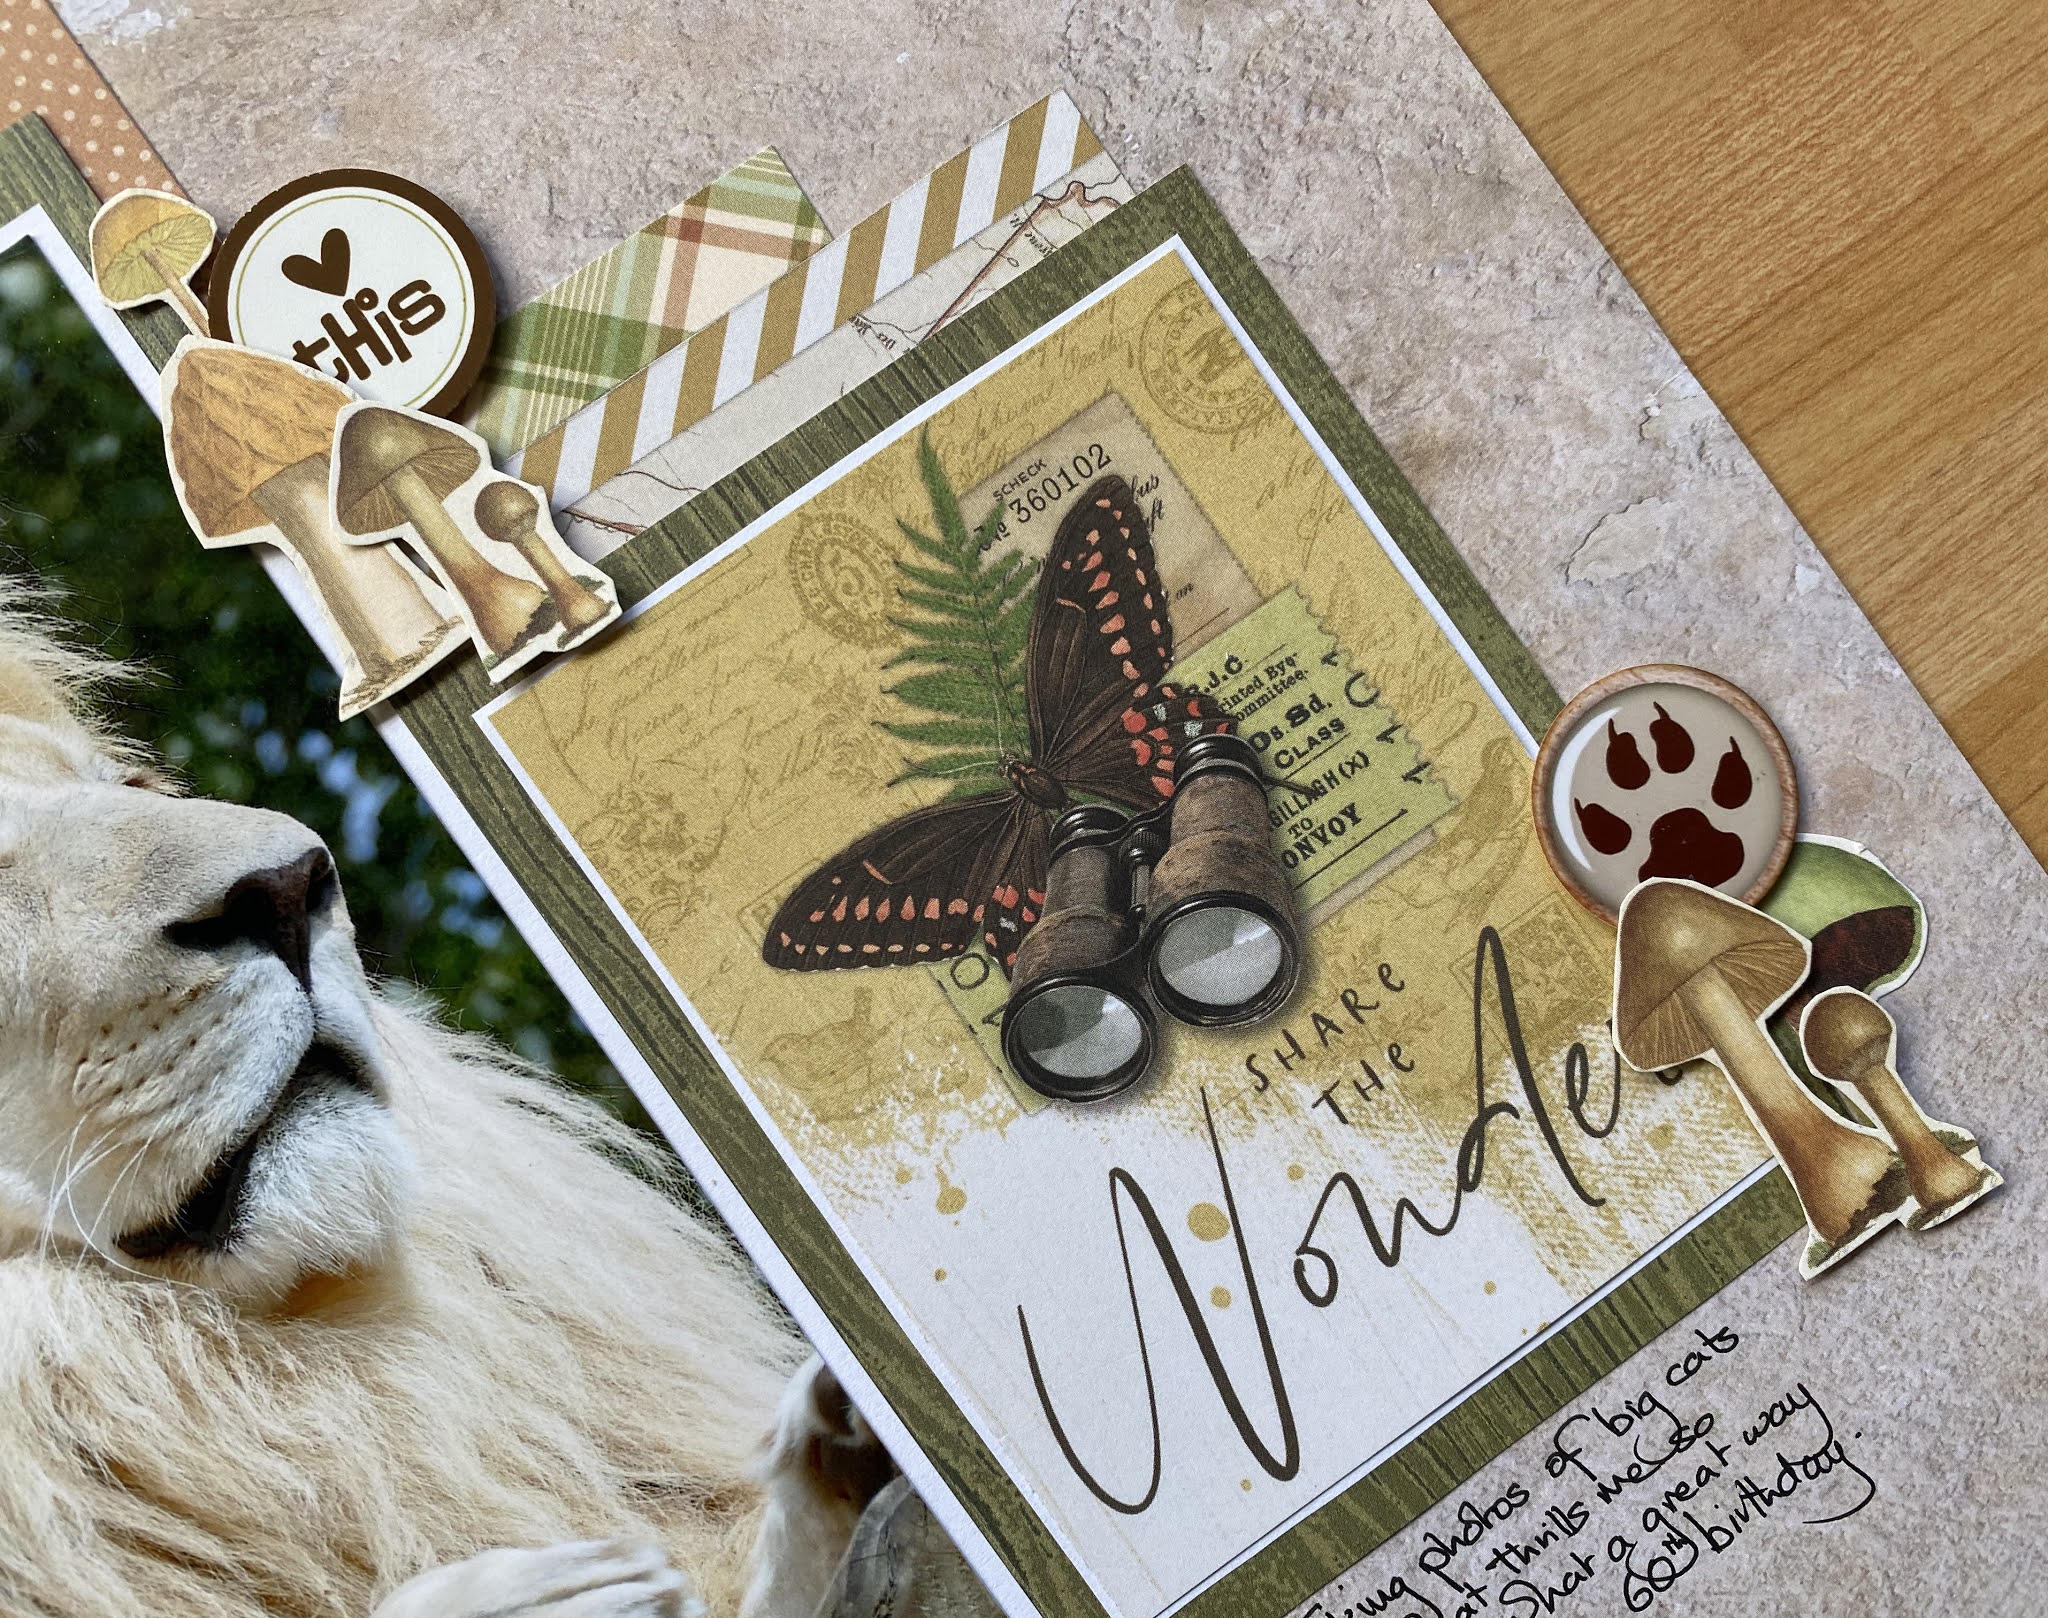
I spent my 60th birthday photographing the big cats and I have to say Ngosi pictured here was one of my favourites and I got to hand feed him. 


This was a visit to the gorgeous Painted Desert in Arizona 


And closer to home - my favourite happy place - Poole Park 


Do check out the range in stores because it is utterly fabulous 


Saturday, 28 January 2017

January's PL Style Page


Hello, hello lovely scrappers and welcome to the first of our Project Life style pages.  Apologies for the bad photos - flat batter in my camera and iPhone not up to poor light photos!

I have to confess that I don't have a Project Life album and rarely scrap in divided pocket pages but love the style and concept of Project Life.  For the past two years I have made a double page each month with one large photo on the left page and four smaller photos on the right to give a small snapshot of the happenings each month.

In this series of layouts, sometimes I will focus on a whole month and sometimes I will focus on one event, not always from that month just one I have lots of photos for.

This month I am using photos from events during January but that doesn't mean that you have to.

The paper ranged I used is Simple Stories Winter Wonderland but this will work well with any paper range that suits your photos.


NOTE All measurements are in inches. 

Photo sizes - one 3 x 3, onw 2.25 x 3, two 2 x 3 and one 2 x 2

  • To start I cut four pieces of patterned paper 5.5 x 3.5 and four pieces of paper 3.5 x 2.5, I then rounded the corners with a half inch corner rounder. 
  • I arranged my pieces onto the page with two 5.5 x 3.5 at the top, the four 3.5 x 2.5 across the centre and the remaining two 5.5 x 3.5 at the bottom.  I left a .25 gap around all four sides and the space between the paper pieces is .5. I raised some on foam pads and stuck some directly to my cardstock. 
  • Next I added some enamel dots and a chipboard tree.
  •  I used a quarter inch corner rounder on my photographs and shuffled them around until I was happy with the positioning of them.
  • I used foam pads to attach my photos to the page .
  • Finally, I added a title and lots of stickers (I added the squares under the small photograph on the bottom left rectangle before I added the photo. 
I hope you use this as inspiration to make your own Project Life type page and please upload any you make to the album on the ATDML#Create Facebook Page.