Tuesday, 28 January 2014

Marion Smith or Graphic 45 ?

For this month's gallery I chose a mix of Graphic 45 and Marion Smith Designs to work with.
I've made projects with both papers and just couldn't decide which one to feature in this blog post....so as there have been a couple of Marion Smith designs lately I decided to go with another Graphic 45 layout


I used one of the latest releases - Couture which you can find in the shop here 

I did some fussy cutting and layered the flowers round the photo. On the top right hand corner I stamped with the Couture lacy stamp and used the tiny corner flourish stamp up the side of the photo and in the left corner.

These papers are gorgeous and have a great mix of colours as always, together with lots of stickers and chipboards to match.Although they are quite girlie  papers they can be adapted for boys too !

Sunday, 26 January 2014

Cards on Sunday - Project Life Saved Me!

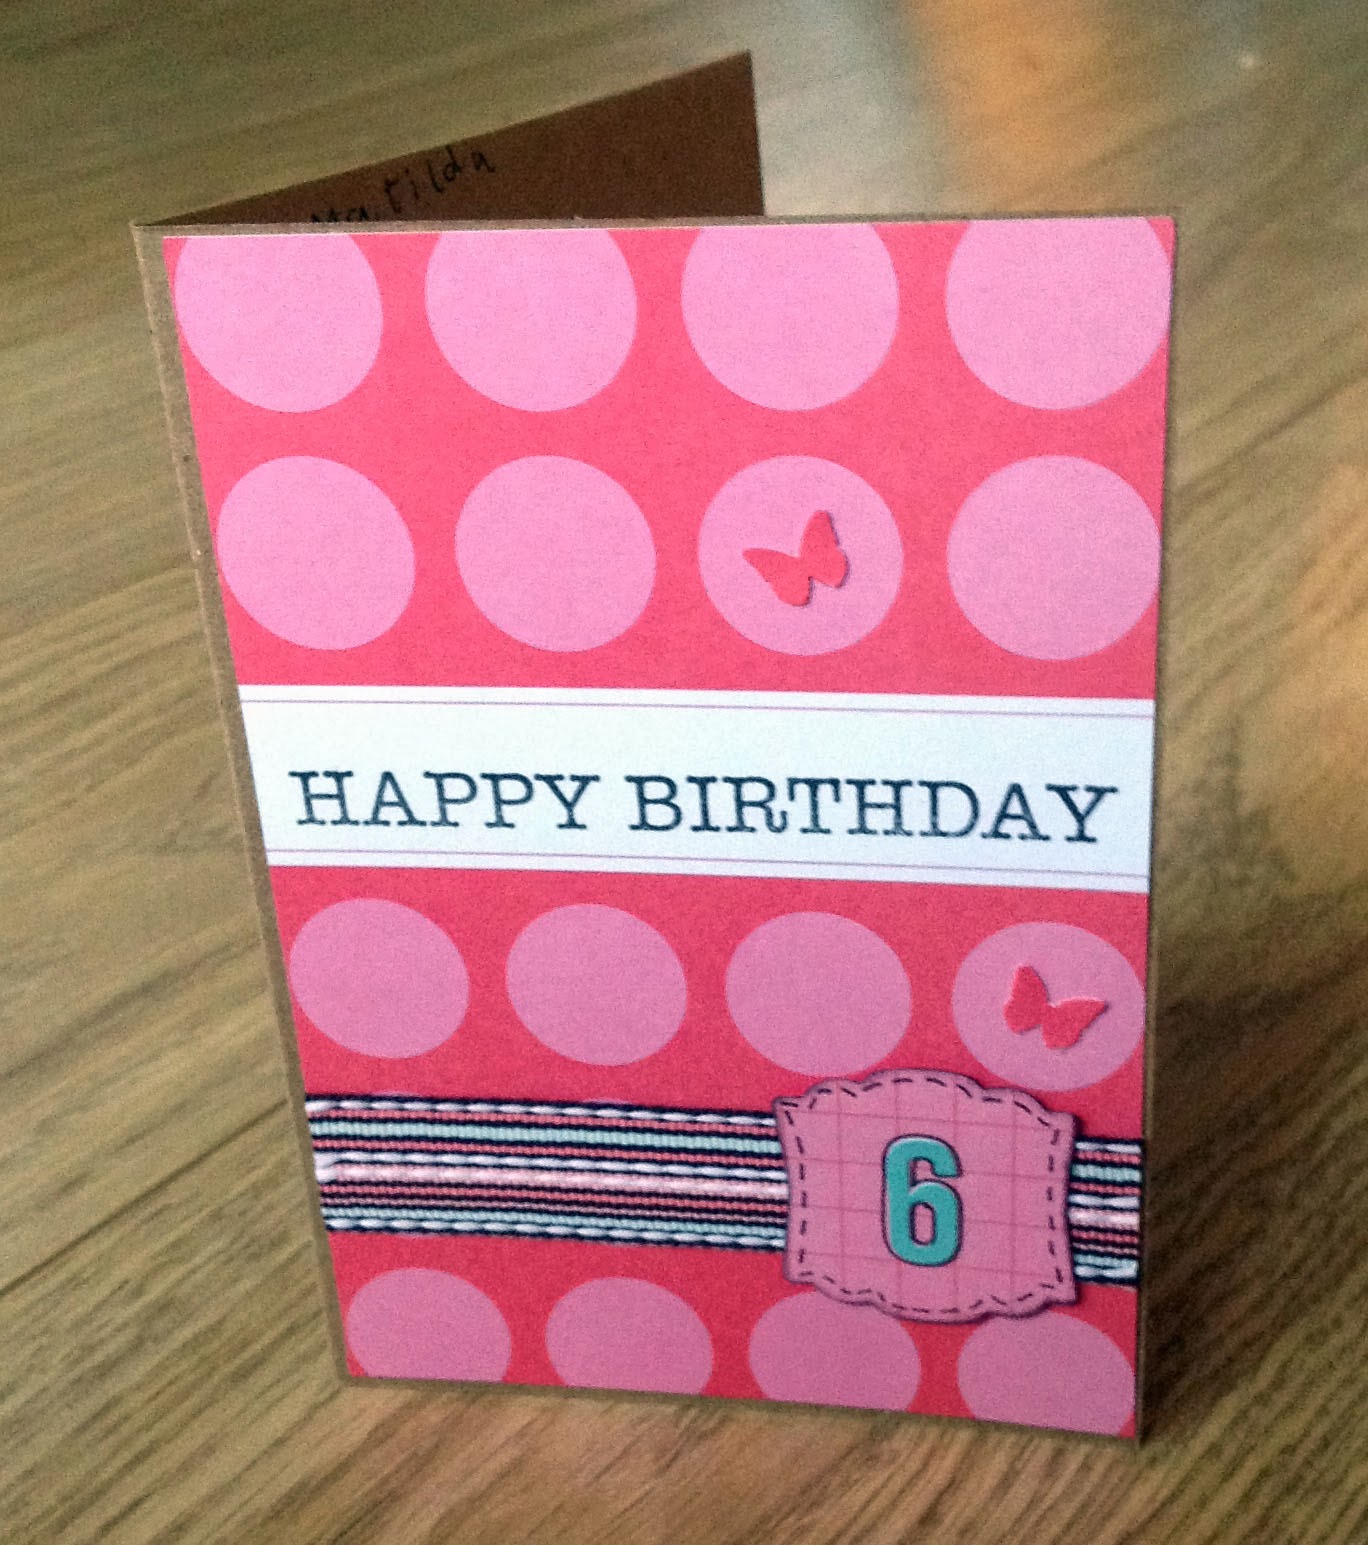
Picture the scene, we have wrapped the gift, Olivia is in her Cinderella dress and ready to head out to the Princess party she is off to. I say "Let's pick a card out of the box and write it..." (I keep a box of cards, some handmade and some shop bought) we go to the box and uh oh, there are adult birthday cards, boy birthday cards, sympathy cards, get well cards but not a single thing suitable for a girls birthday!

We had approx. 10 mins before we were leaving, no open shops on the way and no card!

So in a moment of inspiration I fish out my box of Project Life cards. Find a 6x4 card in pink and red as a background. Stamp "Happy Birthday" on it. The quick addition of a length of ribbon, a punched shape with a number 6 on it and some little punched butterflies provides us with the quickest birthday card I have ever made!

 
It won't win any prizes, but in an emergency I was glad of those Project Life cards!

Friday, 24 January 2014

Some more Marion Smith...


When Mel and Jill said we could choose, high up my list of new papers to try was some of the Marion Smith ones.  I love that she has a really good mix of boyish or girlish papers in her collection, so I selected a mixture of the blue and more male ones - I used the Nirvana collection.  If you haven't checked out Jane's beautiful balloon using some of these papers then check out here post here.

I started by working out where I wanted my photo and the papers, and once I was happy with that I then added a layer of gesso, using a palette knife behind where my paper was going.  Once this had dried I made a puddle of brown cosmic shimmer mist and let this drip down the paper.  I distressed all my papers, and cut out some tickets and made a pocket for one of the journalling cards behind the photo - that is another really stand out feature of her papers - she has lots of element sheets where you can cut out all sorts of lovely vintageness or just use the beautiful pattern on the other side.  I added lots of strips of the different papers, and a few of the 7 gypsies gears to the side of the photo, and some prima lace to add a different texture too.


Tuesday, 21 January 2014

Marion Smith

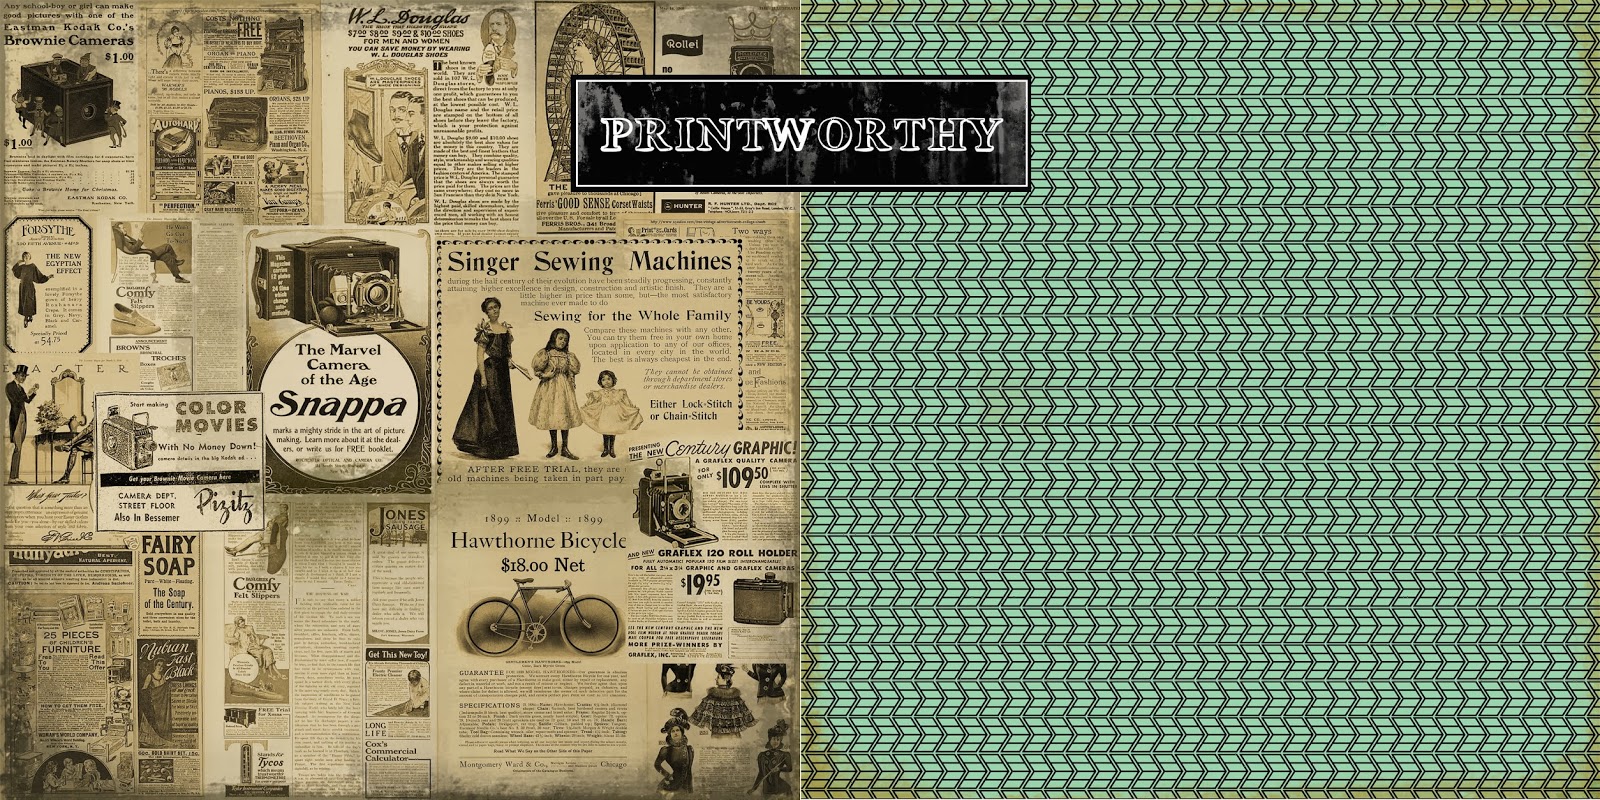
For my designers choice January kit I think I probably surprised everyone by not picking Graphic 45! Instead I went with a paper designer I have never used before - Marion Smith.
She has three new paper ranges out at the moment, Garment District, Mad Tea Party and Nirvana which are available in the shop.
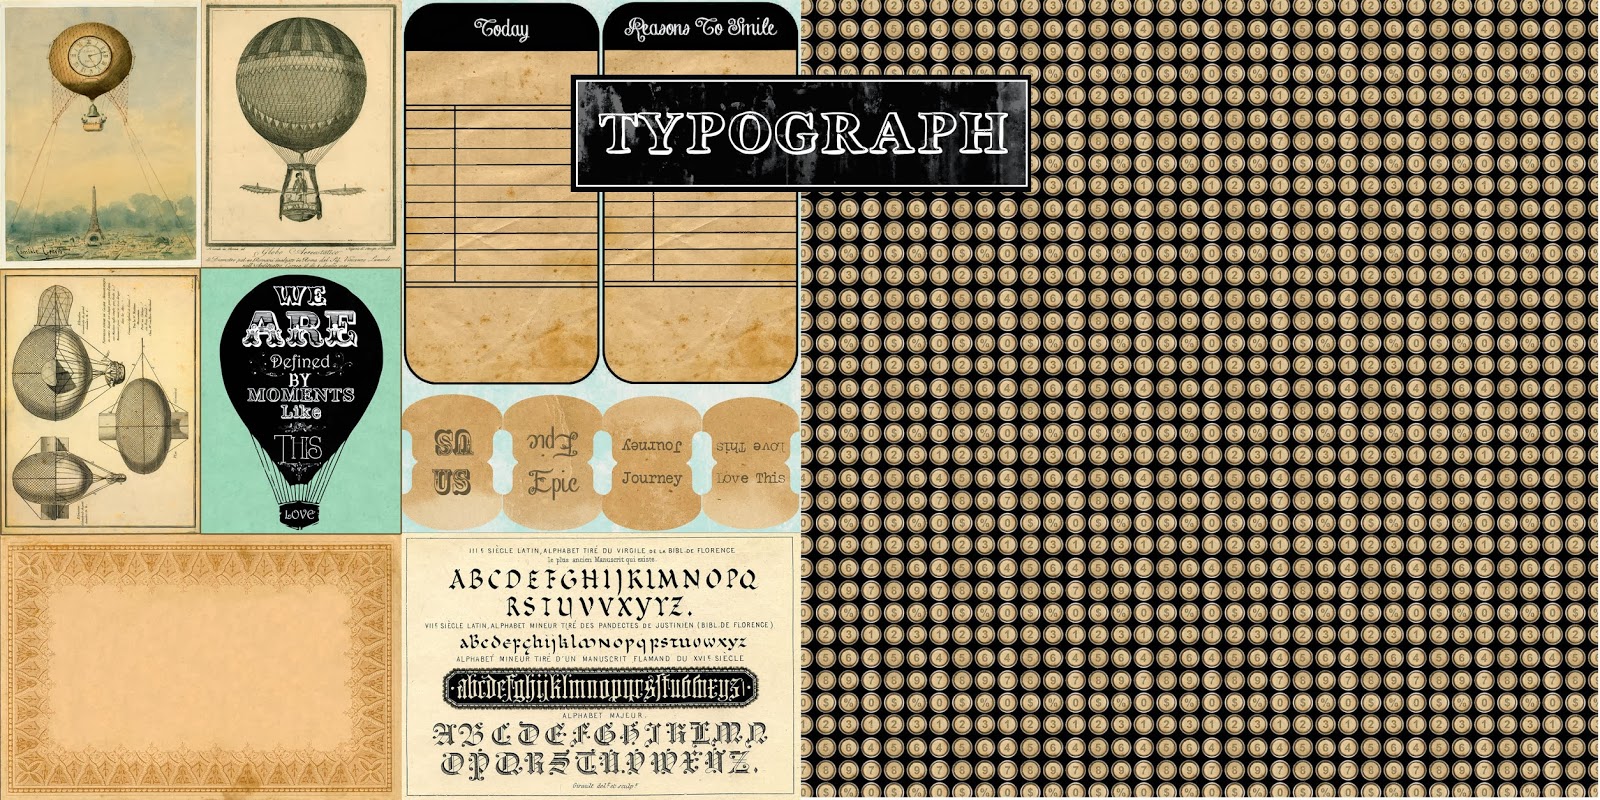
I decided to go for the Nirvana papers, I was attracted by the colour palette and the vintage feel of the artwork then when the papers arrived I really liked the quality and feel of the paper.


To me the papers had a bit of a steampunk feel to them and I was inspired by the hot air balloon on the up and away paper, so I altered a box from some chocolates I had at Christmas...step one, buy and eat a box of these - they are delicious!!
For the balloon I used a polystyrene ball which I covered in distressed Nirvana papers. I used some 'rusty wire' to join the balloon to the top of a champagne cork which was my 'balloon basket' and I added an old cog from my metal bits and pieces collection to make the 'burner'.
I covered the box with Up and Away paper and Decorated with Typography paper and elements from the Documented paper as well as some Prima flowers, Tim Holtz film and butterflies punched from the Marion Smith Papers and some scraps of Authentique paper. The wooden clock and the brass cog were from my stash (not sure of the manufacturers). I finished off by distressing with lots of walnut stain ink and added the 'dare to be original' phrase which was made from left over stickers from Mel's Authentique retreat class.
Here is my finished altered box...


Wednesday, 15 January 2014

Family Stories by Teresa Collins

Ann here today sharing a couple of layouts created for the January gallery. Like Karen I too get just a little excited when Mel and Jill indulge their design team with free choice on what we want to create with.  This was the case in December where we could select which products we wanted to create with for the gallery, blog and Facebook page (ATDML #Create) in January.

I had my eye on this paper collection from Teresa Collins for a little while and knew I could make many layouts by just finding complimentary cardstock from within my (vast) existing stock!  Also there are so many great colours in the collection I knew I'd have no trouble find embellishments to coordinate too.  Add to this the desire to scrap a little more Project Life style in 2014 I had many ideas and a whole collection to play with.


I knew I wanted to make several layouts to incorporate some of the many photographs taken on our last family walk of 2013. I had plenty of photos to chose from as I was testing out my new camera that hubby bought me for Christmas. 


I started with a simple 12x12 page with just one 6x4 landscape photo on it almost as a title page for those that followed. I then created another fairly straight forward page featuring two more 4x6 photos and some of the same papers that I had used on the first page. 


I then decided to use a project life style divided page protector to incorporate many more photos and tied this in again incorporating those same papers.  Knowing I would be making several pages I started by cutting the black/white chevron paper into three 4" wide x 12" tall pieces. This first of these strips features on the right hand side of my first page, the second strip on the left hand side of my second page and the final piece  I cut a 3"x4" piece for one of the divided pockets. I did something similar on the striking red heart paper where three 4x6 pieces were cut and once features on each of the three pages. Looking at the layouts you would not know each of those pieces started out the same size as you cannot tell with the layering.

I am thrilled that over the three pages I have 9 photos and a nice style in my family album with the combination of 12x12 layouts with the divided page protectors. The reverse side of my divided page protector picks up my week 1 project life layout for 2014 - a new challenge for me. Why not join in the conversation on project life scrapbooking over on our Facebook page. Not a member yet? Simply request to join and one of the team will add you soon!

Tuesday, 14 January 2014

Not too fussy.....

I thought I'd share a layout I made for the November gallery using My Mind's Eye.
This was one of those times when I actually tried to keep it simple. I'm one of these people who keep adding bits and filling spaces. On this occasion I thought it was such a lovely photo and it was three males - it didn't need too much fuss. 
My son has stayed friends with the group he was at school with so it was lovely to see them all together and all suited and smart.
I just matted the photo on some black card and added some crackle glaze to the flower.The words on the paper seemed perfect for the occasion. I really like the current papers that are like wood bark,brickwork and crackle,they are perfect for a layout background.
The papers were a perfect match with the colours in the photos - Jill couldn't have chosen a better set of papers for me that month!

Thursday, 9 January 2014

The Accidental Scrapper


Along with the many, many advantages of being a designer for ATDML is that a couple of times a year we are given the opportunity to choose the dt kit for ourselves.  This month was one of them and I chose this gorgeous paper pack from Theresa Collins.

She Said: Collection Kit

It’s no secret that I love her papers, the cardstock weight of them, the texture and of course the design.  As I only have a daughter, what better range could I have chosen than the ‘She Said’ one?
To co-ordinate with the papers I also bought some bling (not used on this page)

e Line Pearls and CrystalsSIIC - Mini Swirls - Lyric  

Labels (not used on this layout)

Basic Kraft Label Stickers

And some Sn@p Pockets

Just the Basics Sn@p Pockets

This layout is in fact the third one I have made from the kit so far but it is my favourite.  


It came about quite by accident as I had, as I sometimes do, designed the page and laid out the elements of my page how I wanted them, without a particular photograph in mind. I then just grabbed the first photo in my pile to see how a 6 x 4 would fit in.  It just happened to be this photo - one I had had for a couple of years but never gotten around to scrapping.  If I‘m honest, the reason being is I do look much larger than I would like to think I am in the photo (must have been a trick of the light I think).  I couldn’t believe how well it went with the papers so with a little ‘shuffling’ about I was able to put the part of me that I was unhappy with inside the Sn@p pocket and it all worked out to my liking.  If only you could hide your larger bits in Sn@p pockets in real life!


I used the gorgeous orange damask paper, to cut the roses out on my Silhouette and some leaves cut from one of the papers, added a couple of heart shaped paperclips (from Wilkinsons) a little bit of journaling and my page was finished.  


A photograph scrapped by accident but you won’t tell anyone will you?